Changing a kitchen tap can be a straightforward DIY project that can update the look of your kitchen and improve functionality. Here are eight simple steps to guide you through the process:
Gather the necessary tools and materials:
New kitchen tap
Adjustable wrench
Basin wrench
Plumber’s tape
Towels or rags
Bucket or container
Silicone sealant (if needed)
How to Change a Kitchen Tap – Shut off the water supply: Locate the shut-off valves under the sink and turn them clockwise to shut off the water supply. To be safe, turn on the tap to release any remaining water in the pipes.
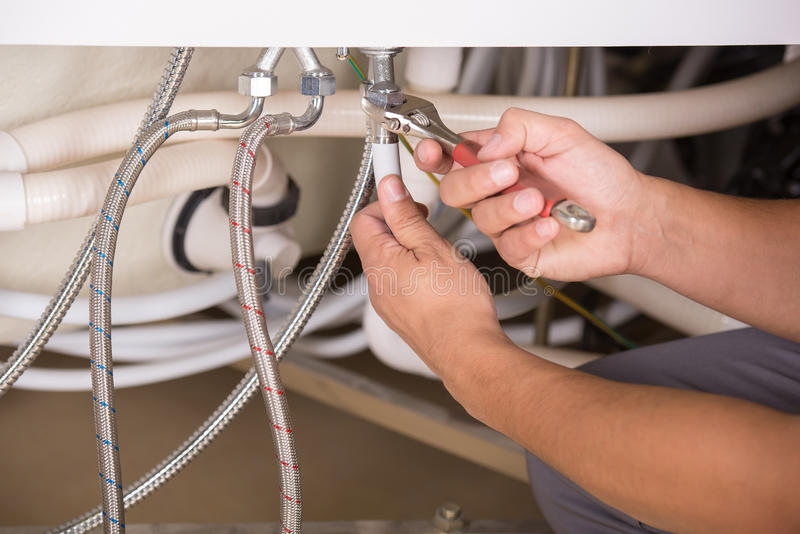
Disconnect the supply lines: Using an adjustable wrench, loosen and disconnect the supply lines that connect the existing tap to the water supply pipes. Have a bucket or container ready to catch any water that may spill.
How to Change a Kitchen Tap – Remove the old tap: Locate the mounting nuts or screws that secure the tap to the sink. Use a basin wrench or adjustable wrench to loosen and remove them. Carefully lift the old tap away from the sink, taking note of any rubber gaskets or washers that may be present.
Prepare the new tap: Before installing the new tap, ensure that it is compatible with your sink and has all the necessary components. Read the manufacturer’s instructions for any specific preparation steps. Apply plumber’s tape to the threaded connections of the new tap to ensure a watertight seal.
How to Change a Kitchen Tap – Install the new tap: Insert the new tap into the mounting holes on the sink. From underneath the sink, secure the tap in place using the mounting nuts or screws. Use a basin wrench or adjustable wrench to tighten them, ensuring that the tap is stable and properly aligned.
Connect the supply lines: Attach the supply lines to the corresponding hot and cold water inlets on the new tap. Hand-tighten the connections and then use an adjustable wrench to give them a final snug turn. Avoid overtightening to prevent damage.
How to Change a Kitchen Tap – Test for leaks and make adjustments: Slowly turn on the water supply valves and check for any leaks around the new tap and supply line connections. If you notice any leaks, tighten the connections slightly. Wipe away any excess water and use a silicone sealant to create a watertight seal if needed.
Congratulations! You have successfully changed your kitchen tap. Remember to take your time during each step and consult the manufacturer’s instructions if you encounter any difficulties. If you’re unsure about any aspect of the process or if you encounter complex plumbing issues, it’s recommended to seek the assistance of a professional plumber. That’s How to Change a Kitchen Tap!